Turn your family photos into a precious memory that can brighten any room. These unique and beautiful DIY projects can be the perfect gift for family and friends who are closest to you.
Adorable photos of your family, or memories from your favorite vacation, can all be enjoyable to put on display and these DIY projects let your memories shine!
Photo Collage Lamp Shade
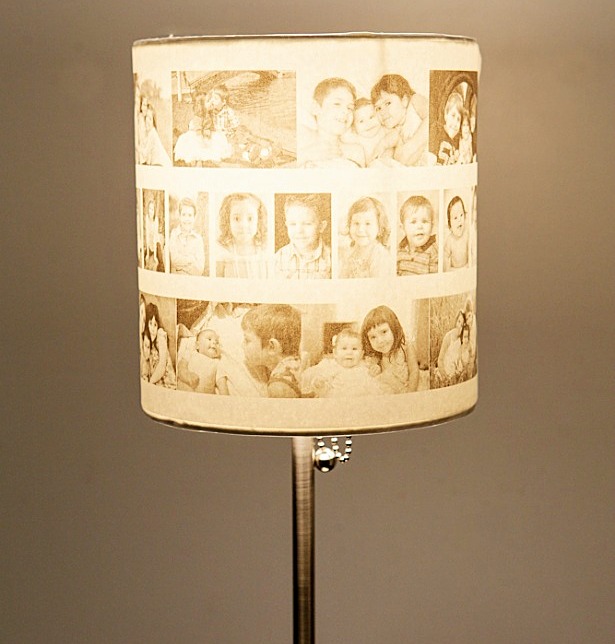
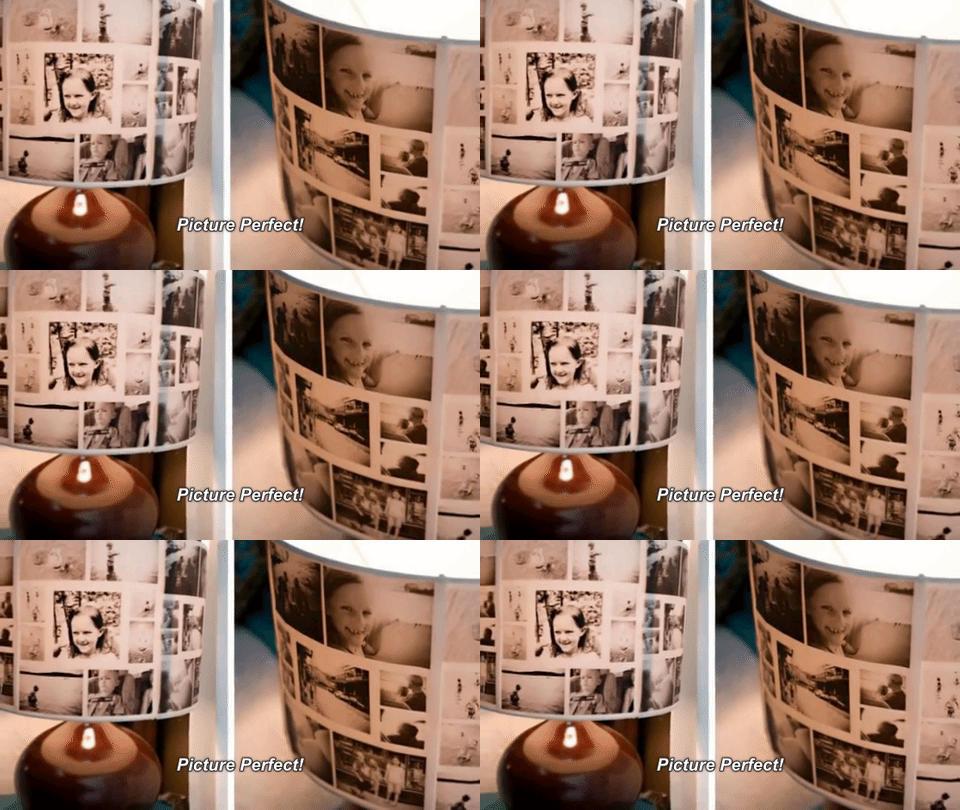
This cute idea by Mommy Moment creates a paper photo collage and wraps it around a lamp shade.
Here’s how to get started
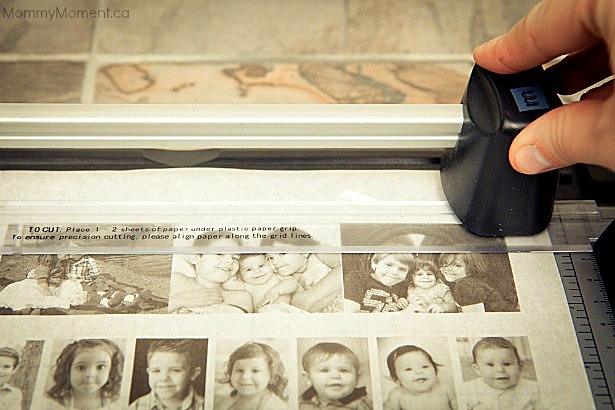
Create a photo collage with a photo editing program, such as Picasa. Choose either black and white or color option when creating your collage. Cut the vellum or tracing paper to the size that fits your printer, then print out your collage and cut it to the size of your lamp shade.
Wrap around the lamp shade!
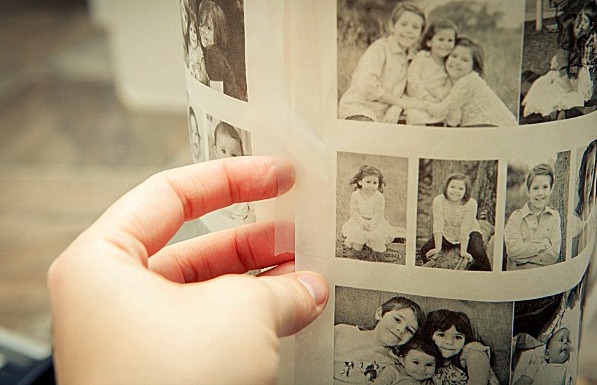
Wrap the paper collage around the lamp shade and make any adjustments to the paper for a seamless fit. Then, tape in place.
Let your memories glow
That was easy! Such a simple way to add light on your precious memories.
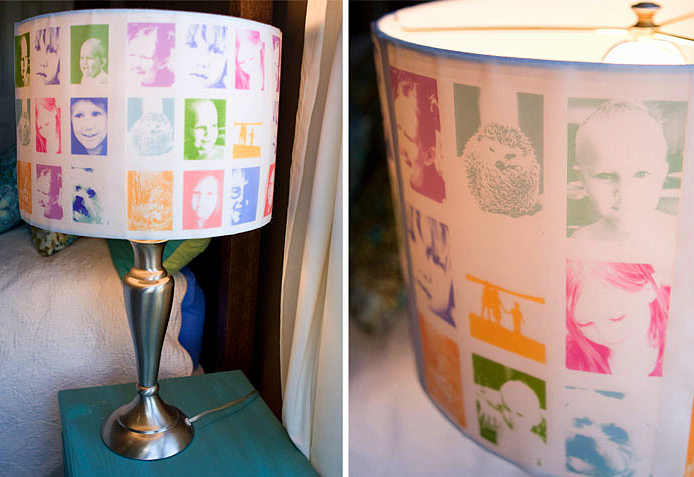
Fun with color photos too!
If you prefer to add in some color to your photos, you can add color in your photo editing software and print in color.
Instagram Photo Lamp Shade
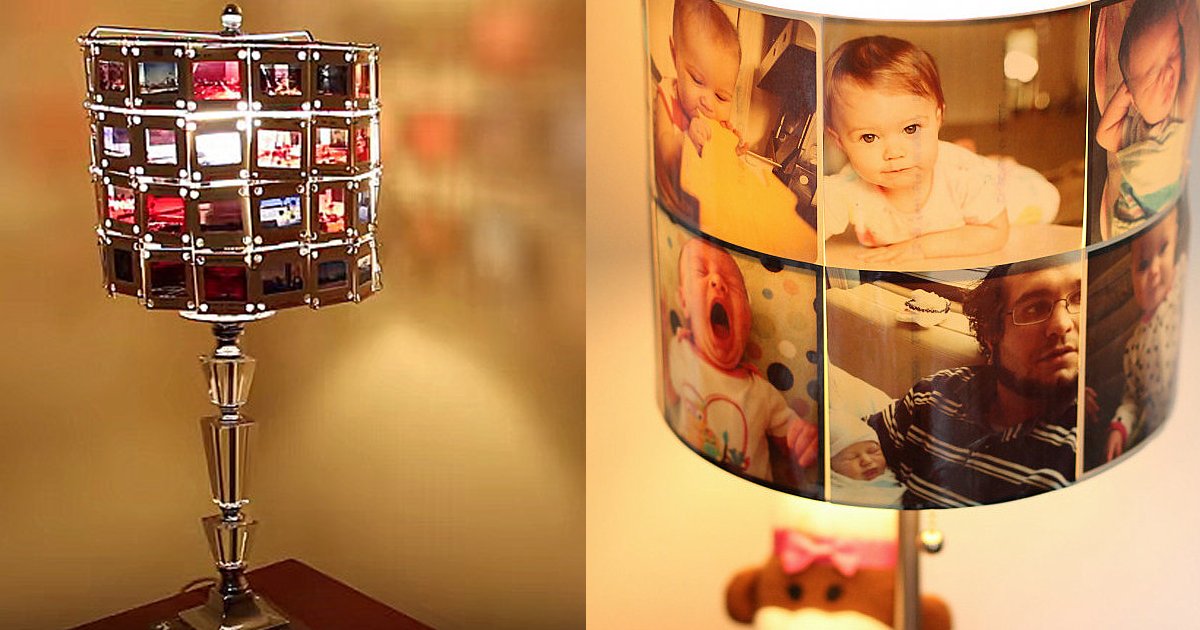
Million Moments had a brilliant idea and turned those square little Instagram photos into a fun photo collage lamp shade!
Getting started
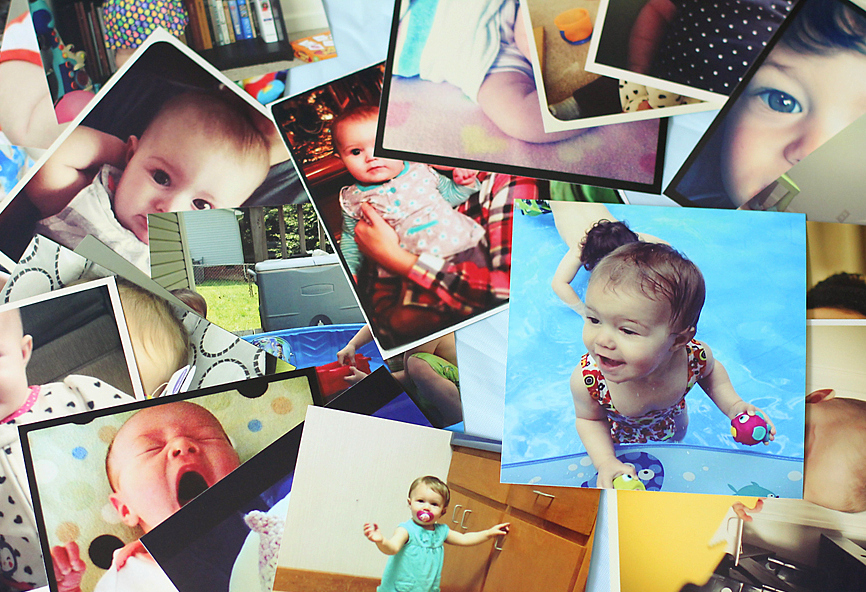
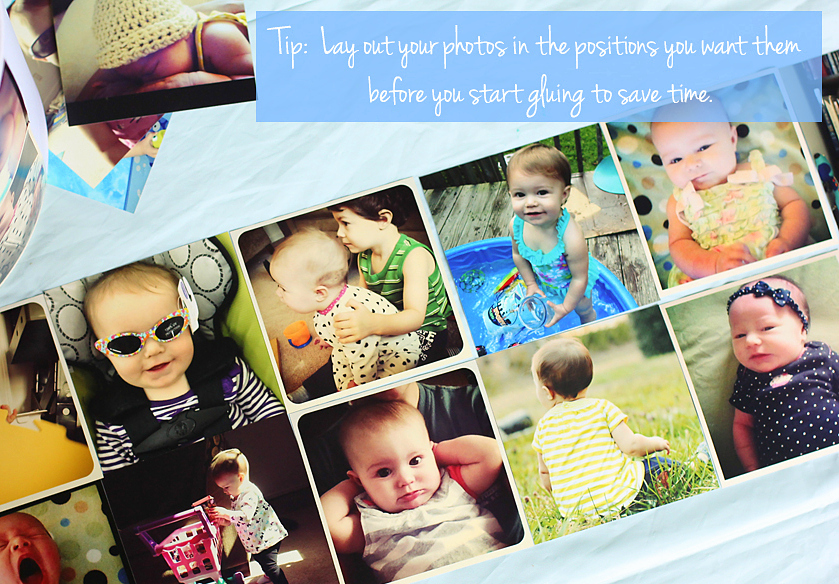
First, determine how many rows and columns of photos you will use by measuring the dimensions of your lamp shade. Print out the Instagram photos and place in the order you want to use for your collage.
Glue it on!
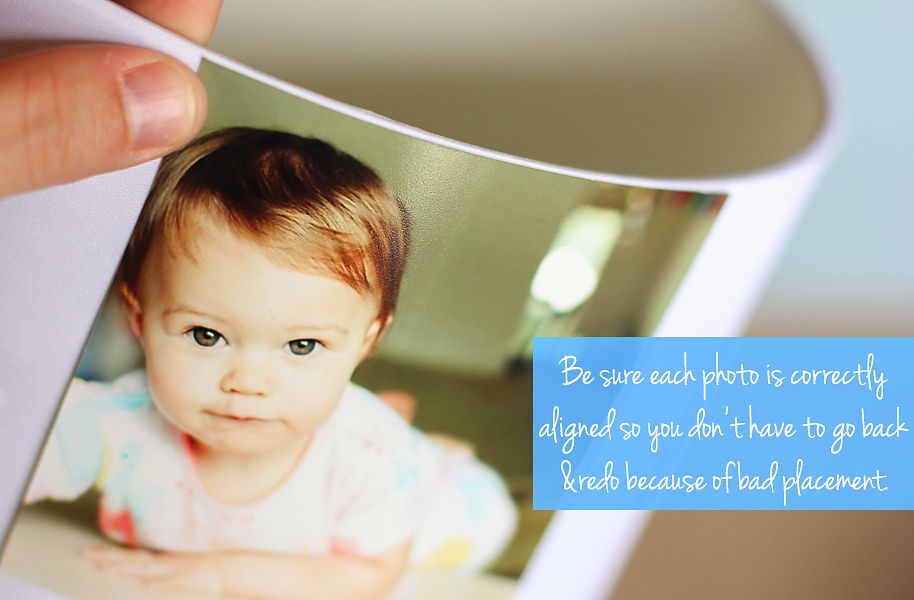
Use a small amount of hot glue and apply your photos directly to the lamp shade. Don’t use too much glue or your photos may look warped and bumpy.
Grab some laminating paper
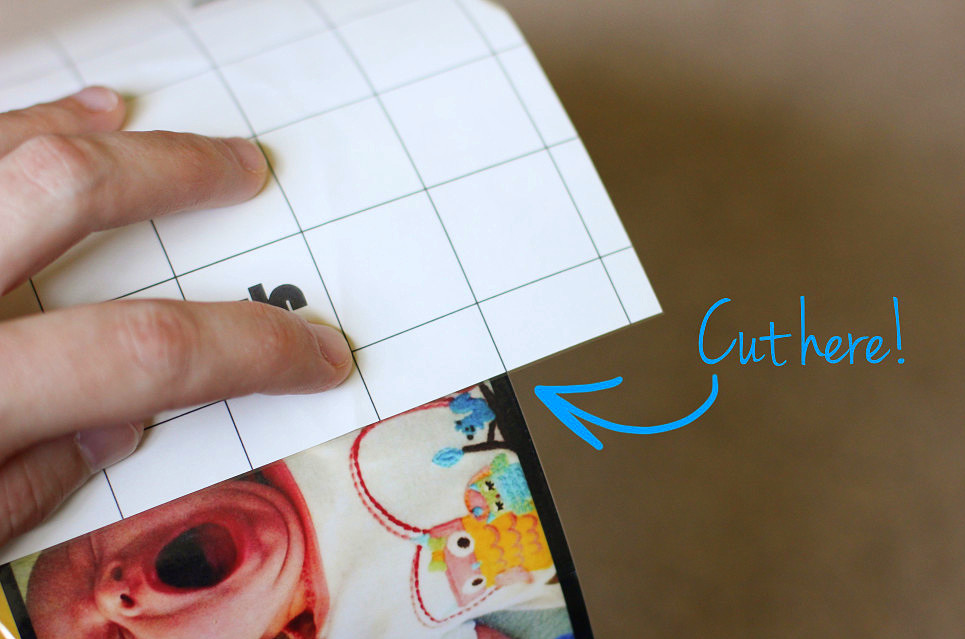
Once your photos are glued on, measure your laminating paper according to the dimensions of the lamp shade and cut to fit all the way around. You can use more than one sheet if necessary.
Cover the photos
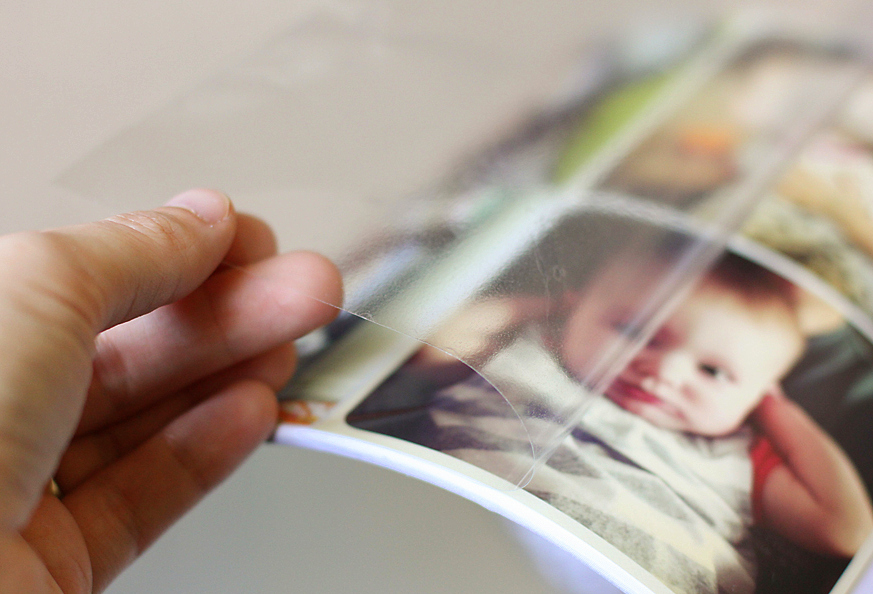
Lay the laminating sheet over the photos. Cover it carefully to make it as smooth as possible.
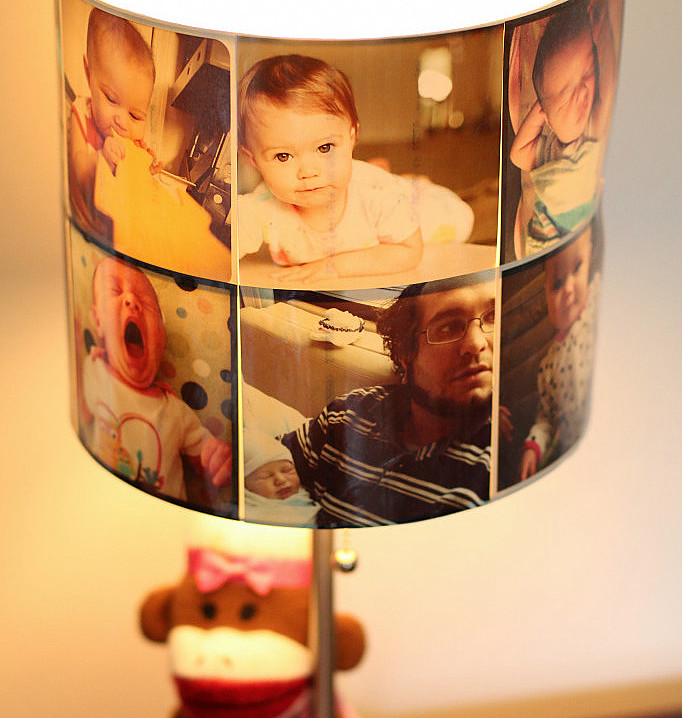
Lookin’ good!
Your lamp shade is complete and took less than an hour to create.
Slide Photo Lamp Shade
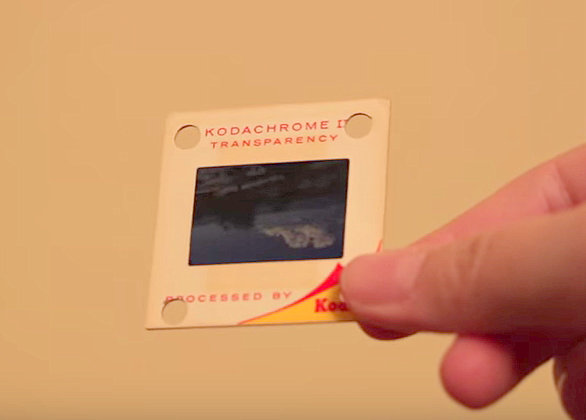
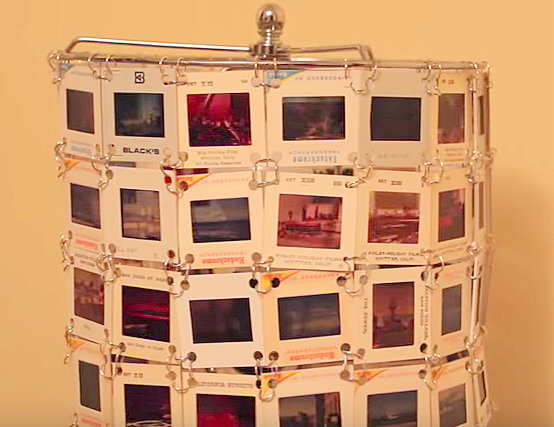
If you have a collection of old slides, turn them into a lamp shade!
Line them up!
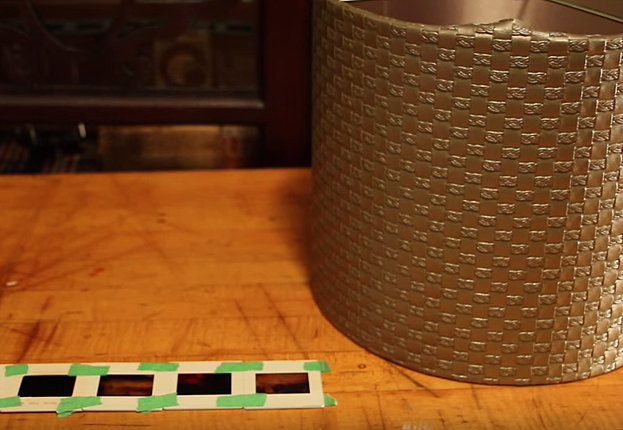
After you choose the slides, tape them together and wrap them around the lamp shade to get an idea of how many you will need.
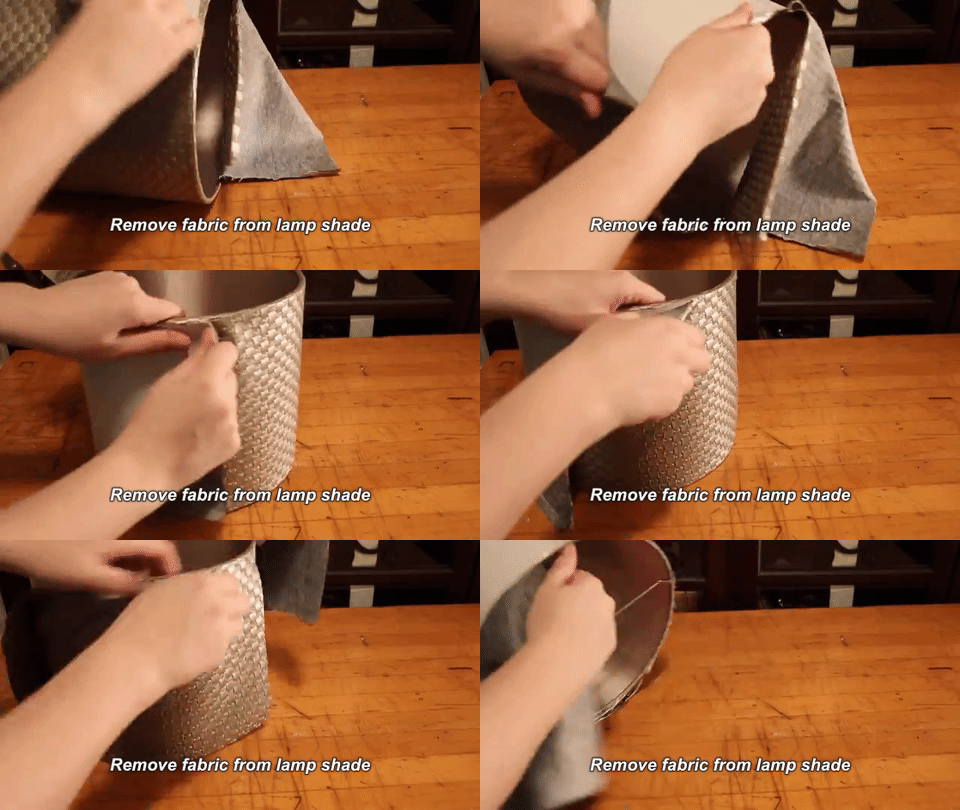
Remove the material
Remove any fabric or plastic material from your lamp shade.
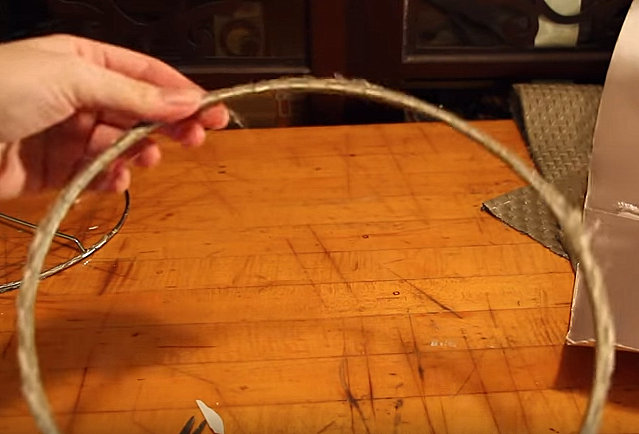
Just the frame
You will just need to hang the slides down between the top and bottom frames.
Punch holes in the slides
Use a hole punch and punch holes into the corner of each slide.
Time to hang them up!
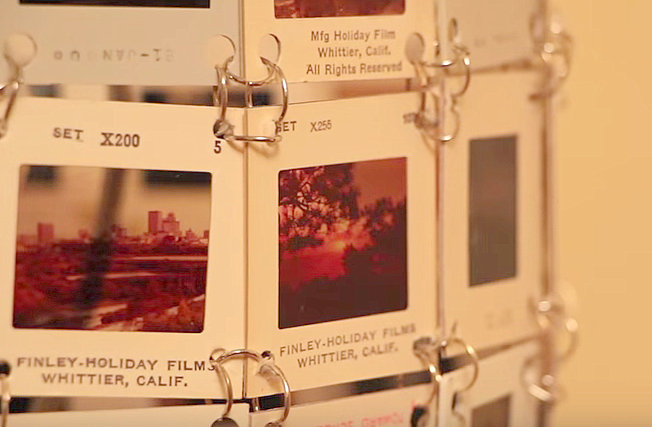
Now you are ready to hang up the slides using jump rings. Attach each slide with the one next to it.
Watch this slide photo lamp get put together in this video.
It’s coming together!
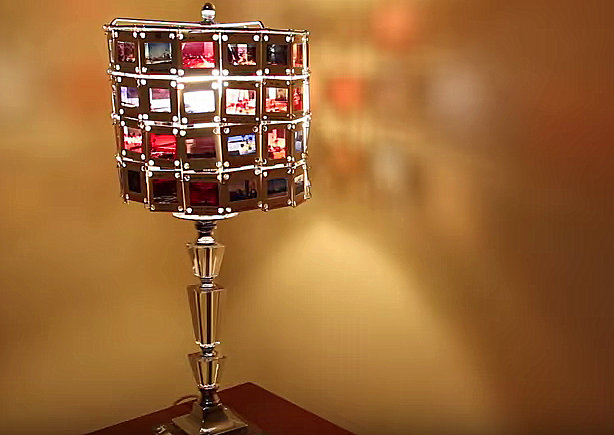
Once all of the slides are surrounding your lamp shade, it’s close to completion. Just add the lamp shade frame back to the lamp . . .
And, you’re done!
Your slide photo lamp shade is finished. The shadows that bounce off of the wall add great illumination to a room.
Square Photo Lamp Shade
Looking for something a little more square? Try this easy idea by Mother Earth Living.
What you will need
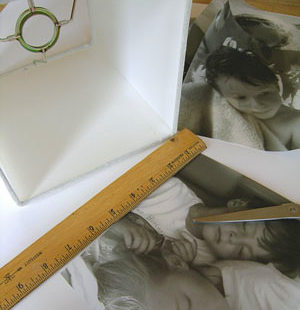
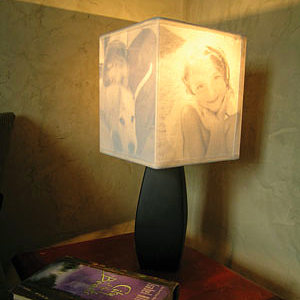
Print out four digital images on translucent vellum paper. Make sure that the images fit the dimension of each side of your square lamp shade.
Place the photos!
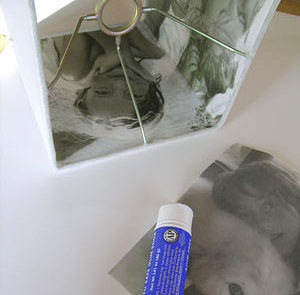
Place the photos on the inside of your lamp shade. Use a nontoxic glue stick on the prints and smoothly apply to the lamp shade. Allow to dry.
Voila!
These printed images have a soft glow and give this lamp a personalized look.
Plenty of photos to go around!
All of these ideas are a great way to show off a variety of your favorite photos.
This is such a beautiful and unique way to preserve precious memories. With so many options, you can find one that works best for you and share a few with family and friends too.


