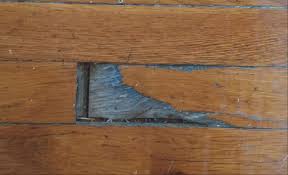
Damaged wooden surfaces, such as those with scrapes and scratches, leave your furniture and other wood items looking old and unsightly. But the damage doesn’t need to be permanent. You can make your damaged wood surfaces as good as new.
Use these amazing hacks to fix damaged wood surfaces in your home.
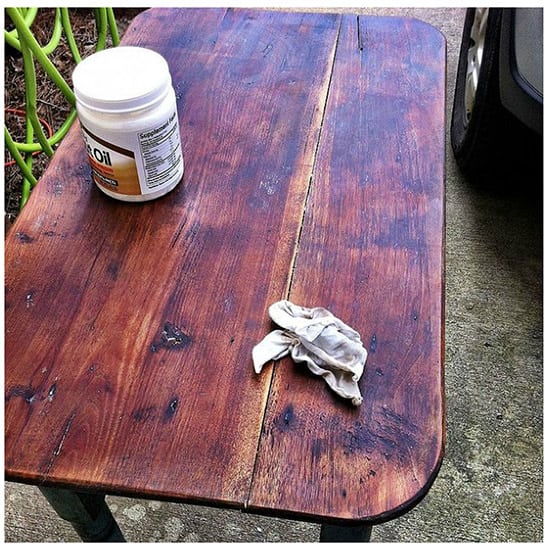
Apply Coconut Oil to Make Your Wood Look Like New
Coconut oil can restore faded wood to its natural color. Apply the oil, and let sit for five minutes before buffing the coconut oil into the wood surface.
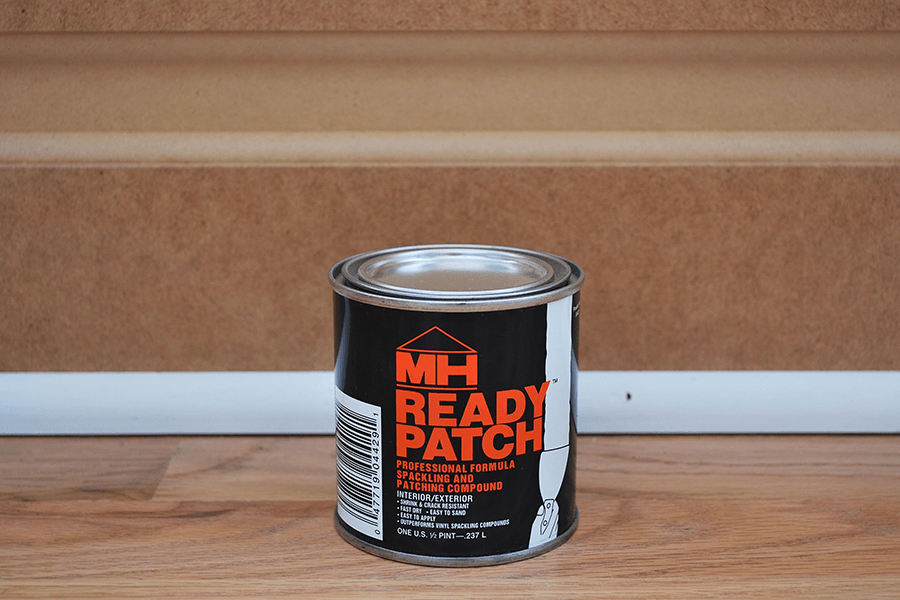
Fill Small Holes Using MH Ready Patch
For a fast-drying filler for smaller holes and scratches, try using an oil-based product, such as MH Ready Patch. Not only does the product dry in 30 to 35 minutes, it cleans up easily with soap and water.
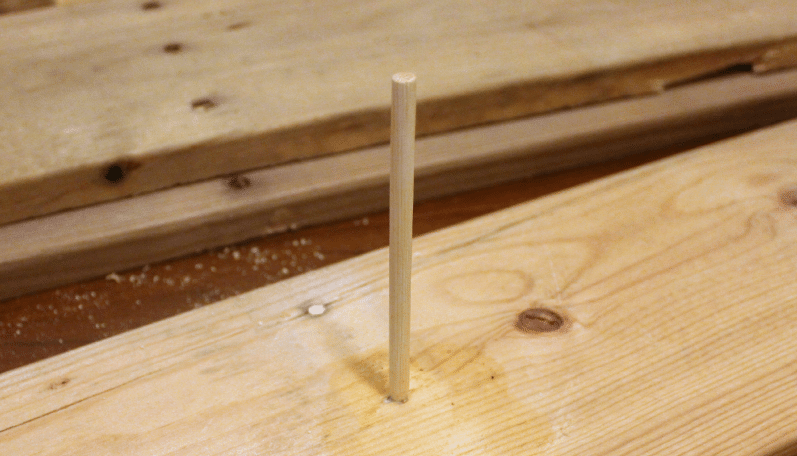
Repair Small Holes Using Toothpicks
If you have small holes in your wood surface, such as from nails, stick toothpicks in the holes. Make sure to cut the toothpick to the correct size to fill the hole, and then sand it smooth.
Use an Epoxy to Fill Larger Holes
For larger holes, use an epoxy to provide a stable product that you can sand, drill, and even plane if needed. Considered by many as one of the strongest fixes for damaged wood, epoxy is waterproof, making it a great choice for outdoor repair projects.
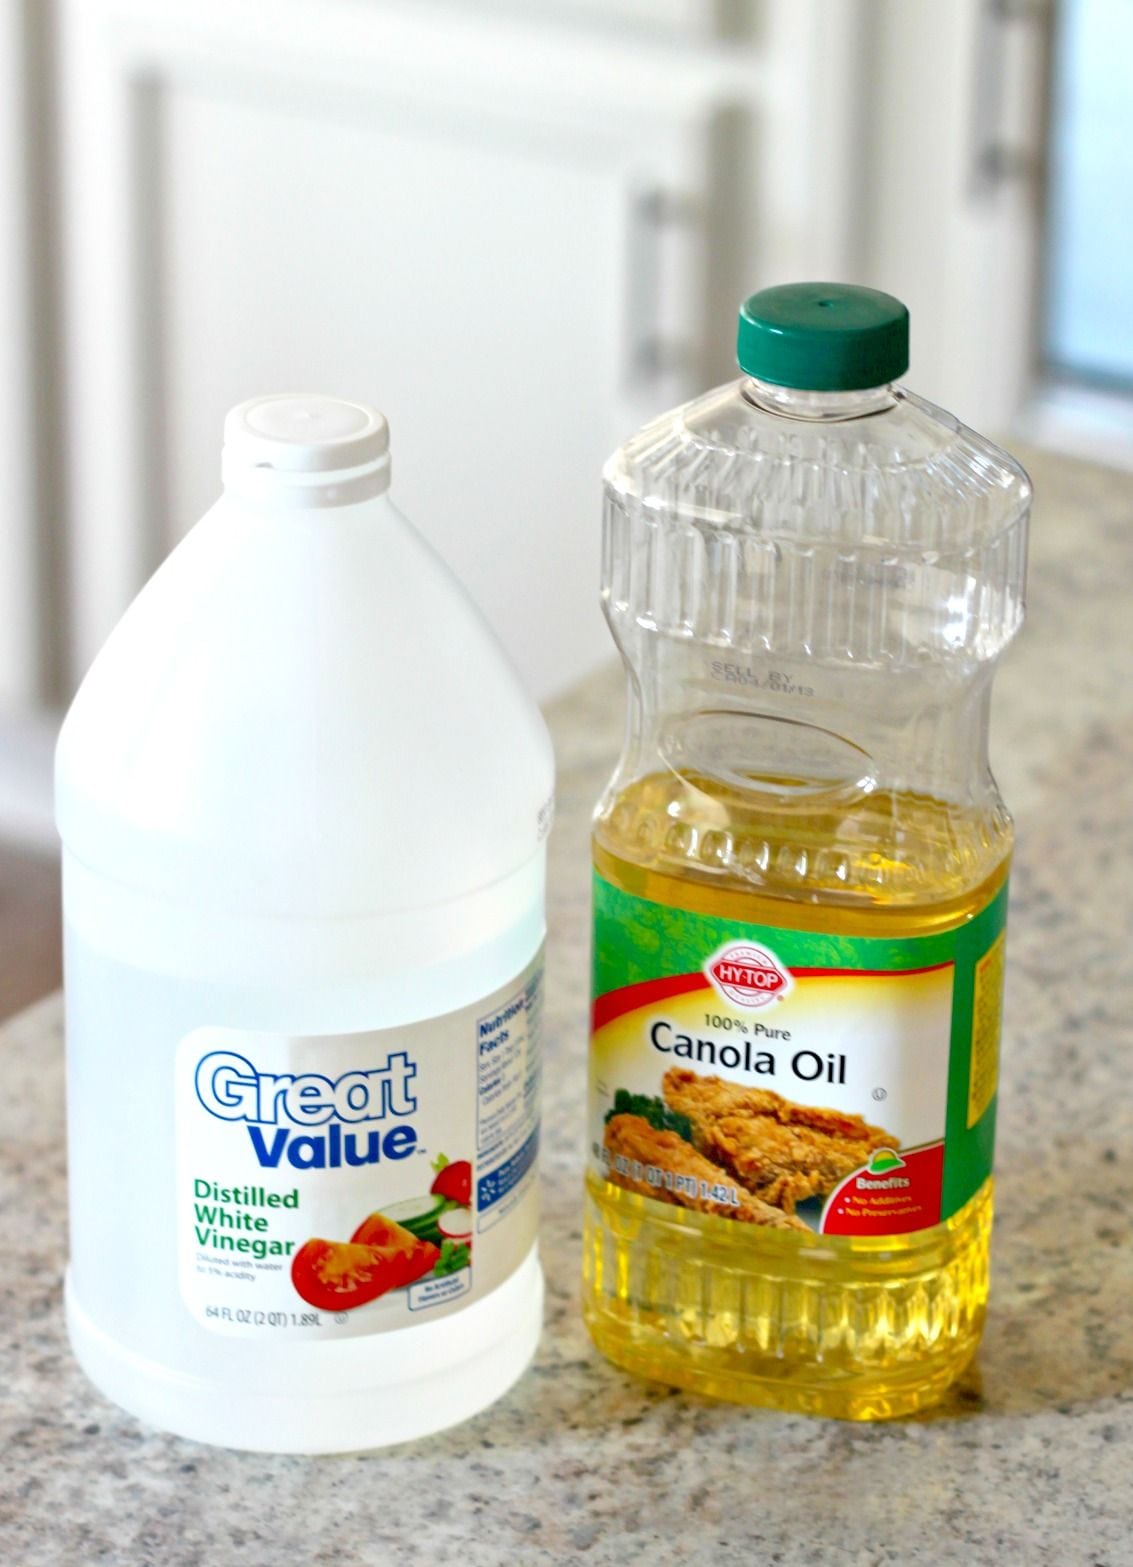
Use Vinegar and Canola Oil to Remove Scratches
Mix 3/4 cups of canola oil with 1/4 cup of vinegar to make a great scratch remover for your wood surfaces. Rub the mixture into the wood, and allow it to dry.
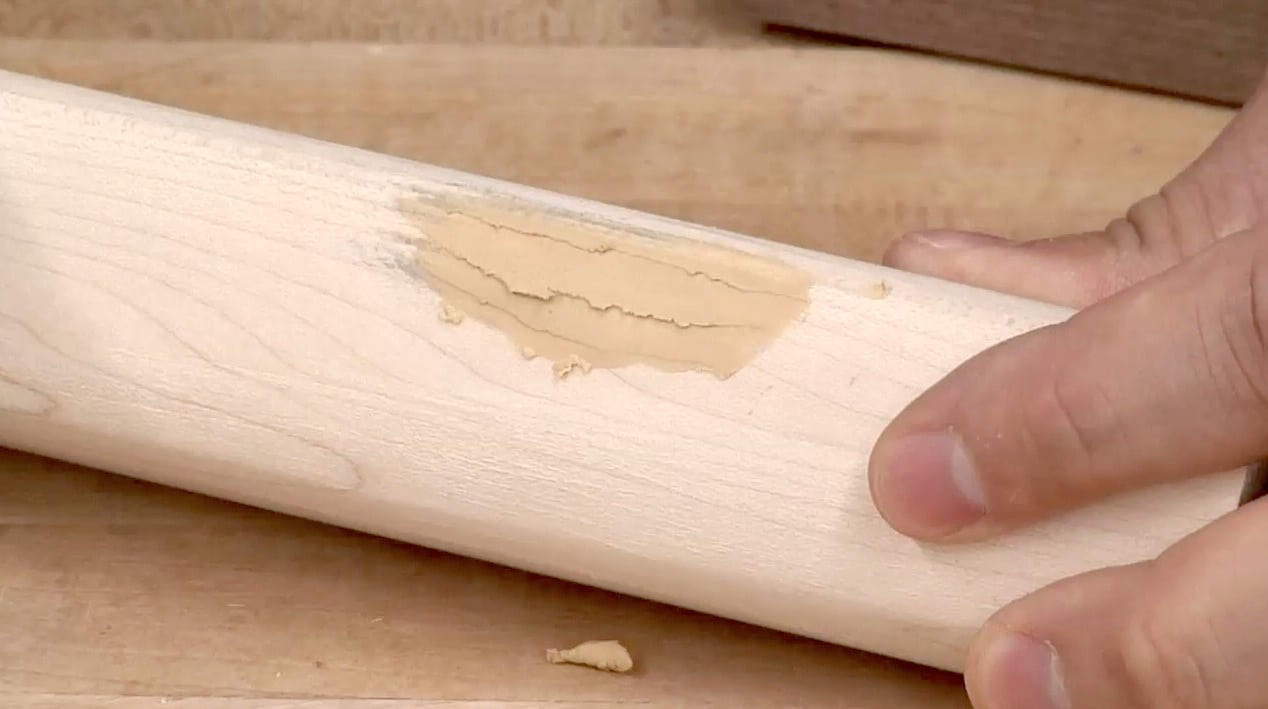
Fix a Variety of Rough Wooden Surfaces Using Putty
Putty is a versatile substance that is easy to mix, requiring you to add water to get the consistency you desire. You can even use it for outdoor wood projects, though the weather can affect drying time.
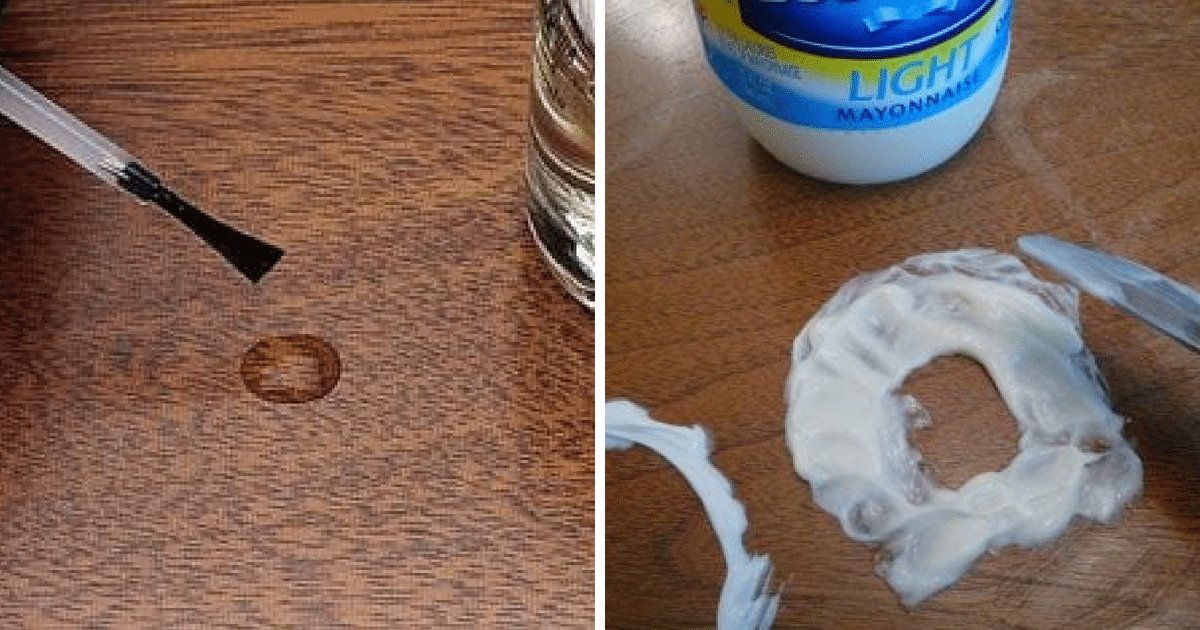
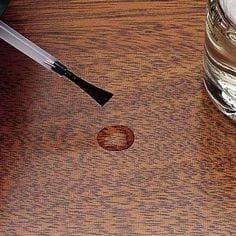
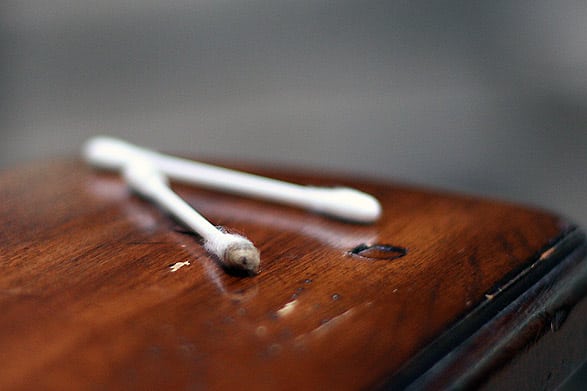
Apply Nail Polish to Remove Small Scratches
If you have small nicks and dings in your wood surface, simply apply a coat of clear nail polish. Allow the nail polish to dry, and then use sandpaper to even the surface out.
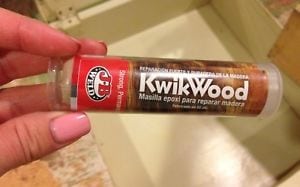
Use a Two-Part Epoxy for a Fast Repair
For an extremely fast-drying substance, use a two-part epoxy, such as KwikWood. Not only is it easy to use, it is usually ready for further sanding and staining within 20 to 30 minutes.
Hide Scratches in Wood Using Iodine
Iodine is a great product to hide and blend scratches in your wood surfaces. Simply rub the iodine into the scratch and let it dry. Keep applying coats until it matches the color of the surrounding wood.
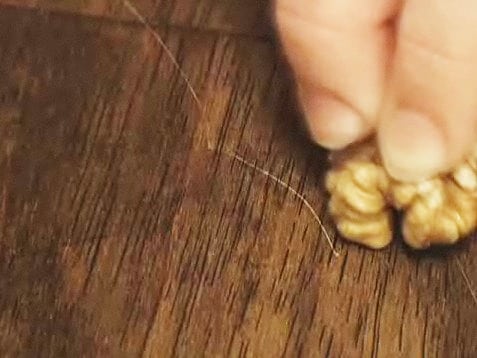
Rub Walnut or Brazil Nut Meat on a Scratch to Make it Go Away
Rubbing walnuts or Brazil nut meat onto a scratched surface is an easy and environmentally friendly way to hide scratches in a wooden surface. Just remove the nut meat from the shell and rub it onto the damaged wood.
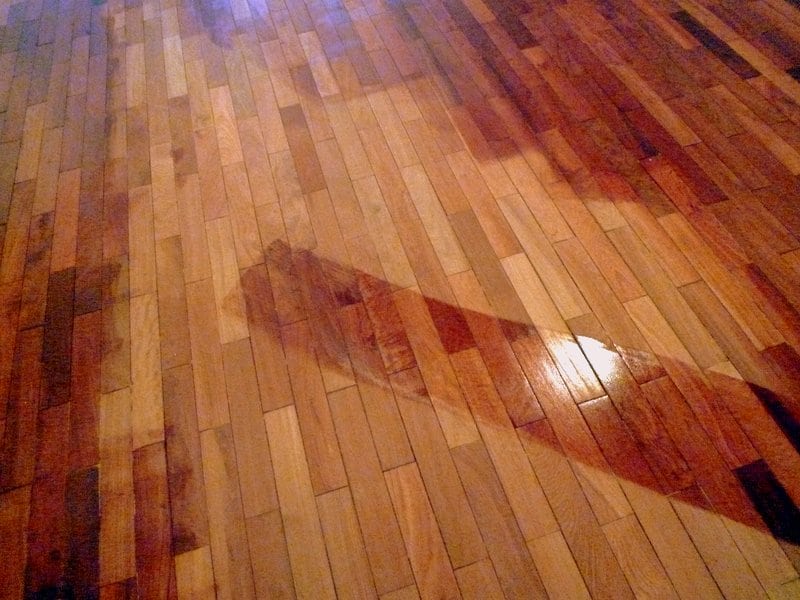
Use Vegetable or Tung Oil to Quickly Darken Wood Surfaces
To match new wood to the darkness of the surrounding wood, use a vegetable or tung oil. Rub the oil into the surface of the lighter area using a lint-free cloth. Allow the oil to soak into the wood’s surface, reapplying as necessary. To avoid over-darkening, apply no more than three coats before allowing to sit overnight.
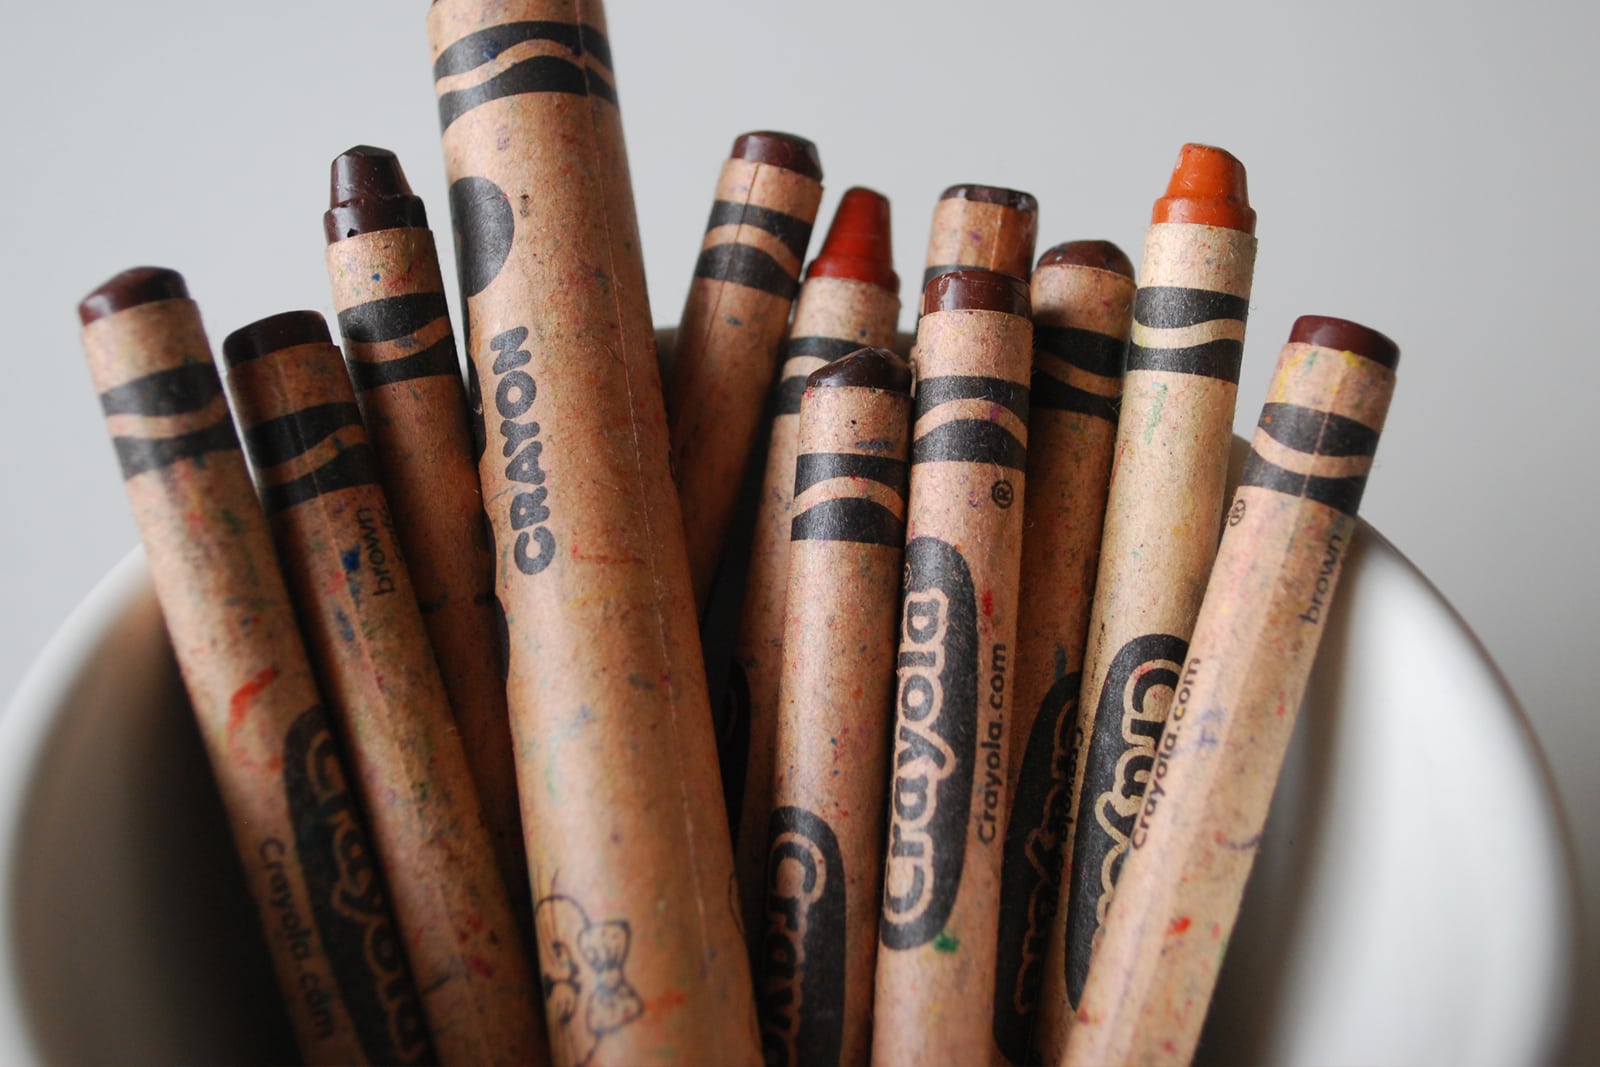
Conceal Scratches in Wood Surfaces Using a Crayon
You can also use crayons as a fast way to conceal scratches in wood. When choosing a crayon to use, look for one in a color that closely matches that of the wood’s surface.
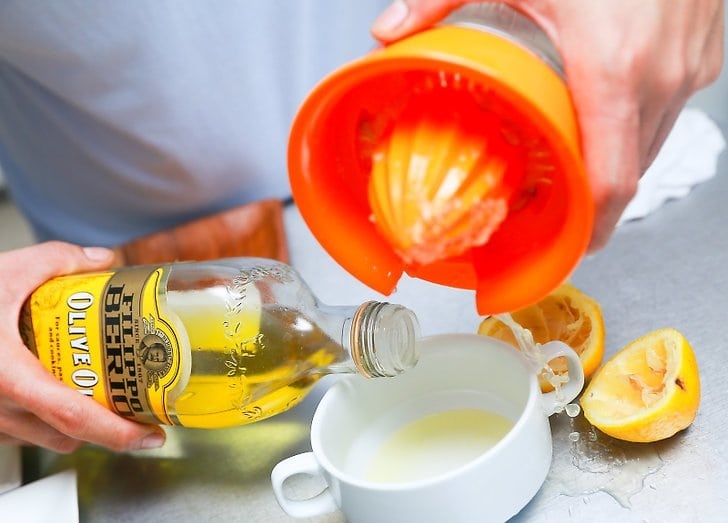
Use This Homemade Recipe When Polishing Wood
Once your wood is repaired, sanded, and painted or stained, it is time to polish it. To make a great homemade wood polish, mix a solution of equal parts olive oil, denatured alcohol, turpentine, and strained lemon juice. Mix well and apply with a lint-free cloth, buffing to a shine.
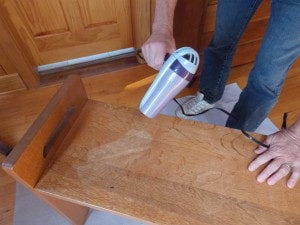
Remove Water Marks Using a Hair Dryer
Using a hairdryer is another great way to remove water marks. Simply apply heat to the water-marked surface and follow up by wiping the area with a rag dampened with denatured alcohol. Make sure the surface does not get too hot to avoid damaging the wood.
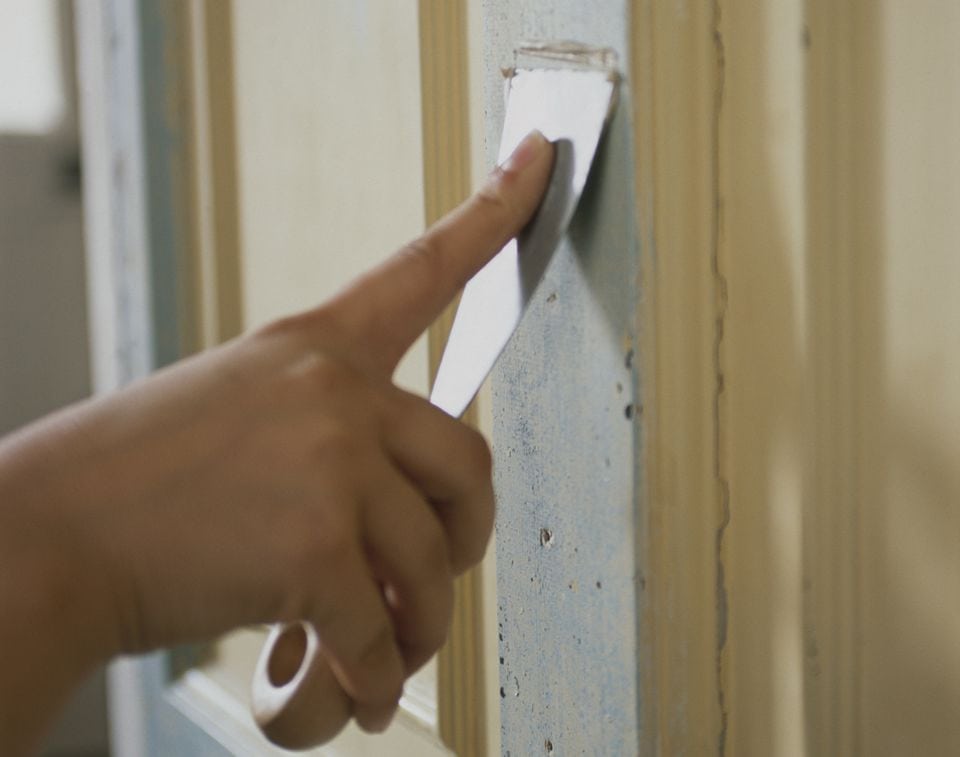
Use a Painter’s Putty to Easily Fill in Small Holes
Another great product for filling small holes is painter’s putty, such as DAP Painter’s Putty. Keep in mind, painter’s putty is very slow drying, though this allows you to manipulate it longer when making a repair.
Use Mayonnaise to Remove Water Marks
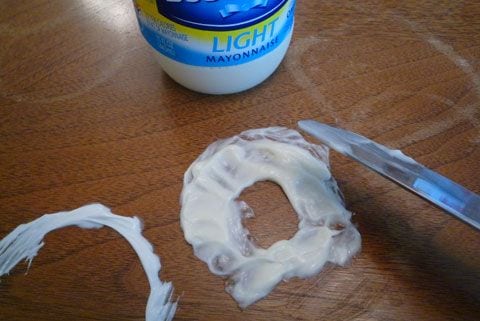
If you have water marks in your wood’s surface, lightly coat the area with some mayonnaise. Allow the mayonnaise to soak into the wood for about an hour before wiping away with a dry rag.
Use Sawdust and Superglue for Filling Smaller Holes
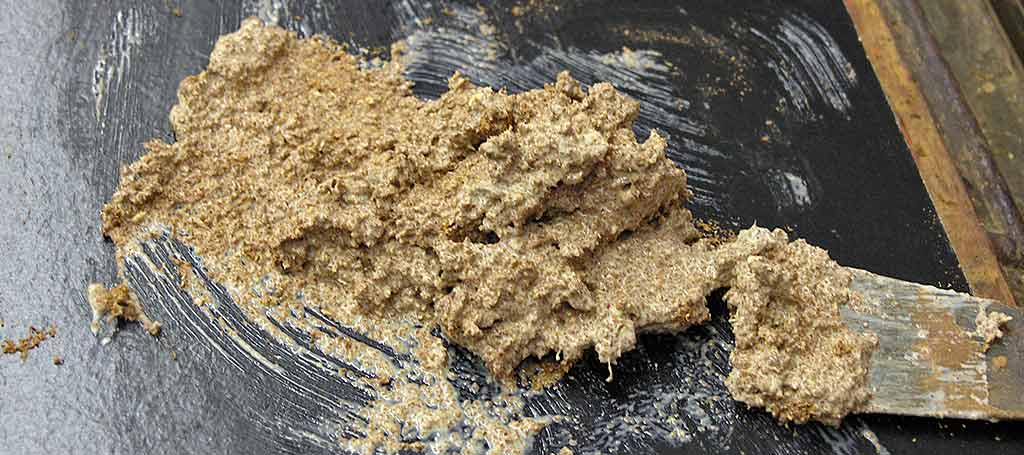
One great hack for wood repair is to use Super Glue mixed with sawdust. The goal is to create a thick paste and then to place it in nail holes and other small imperfections using a putty knife. Once dry, sand it down to the surface of the surrounding wood.
Repair Veneer Using an Iron
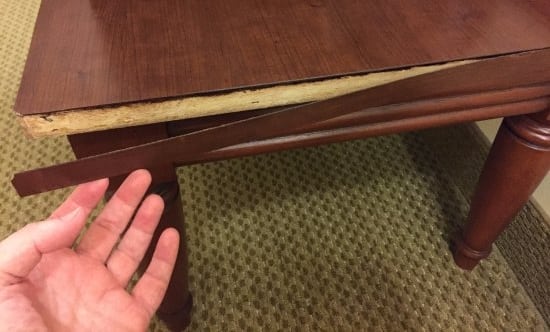
To repair damaged veneer on the edges of your wood furniture, use an iron, tin foil, and veneer banding. Cut the veneer banding to the appropriate size, and apply a hot iron with its surface wrapped in tin foil.
Use a Wood Filler for Easier Color Matching
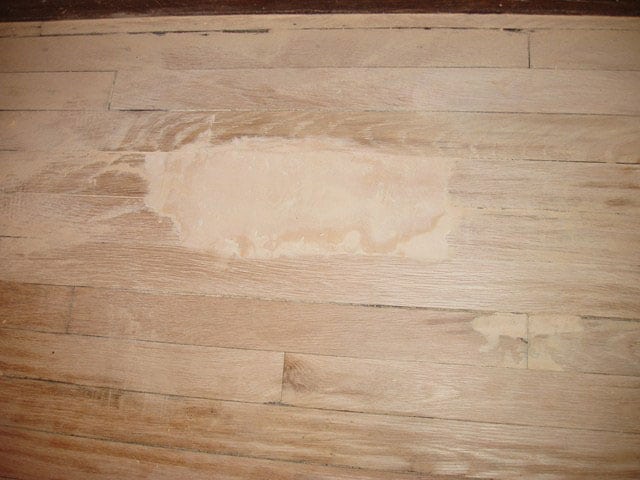
Used by handymen everywhere, wood filler is the standard when it comes to wood repair. The high number of options you have when purchasing a wood filler for your repair project make it a great choice. Wood fillers come in a variety of consistencies and colors, allowing you to tailor it to your wood.
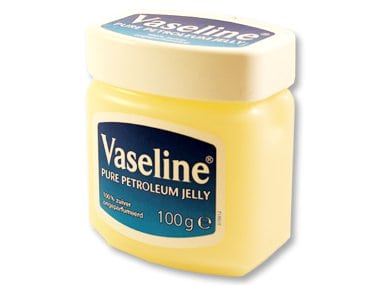
Use Petroleum Jelly to Remove Water Stains
Petroleum jelly works great at removing water stains on wood. Simply apply a coat of petroleum jelly to the stained area and allow it to sit overnight. Then, just wipe the petroleum jelly up the next day.
Bonus.
1) Keep Clothes On The Hanger
Having your clothing end up on the floor after you’ve hung it up can be super annoying. Try tying a rubber band around the end of each side of your hanger. The rubber band will catch your clothing and keep it on the hanger.
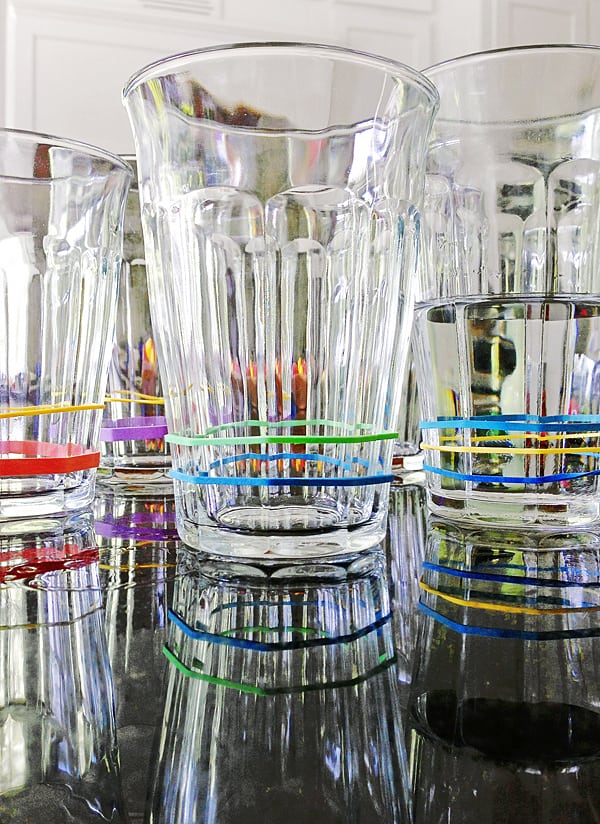
2) Identify Your Drink
Having to clean a million glasses after a party can be annoying. It can also cause you to run out of glasses mid-party. Place different colored rubber bands around the bottom of your glasses so people can keep track of them. Double up if you use the same color more than once.
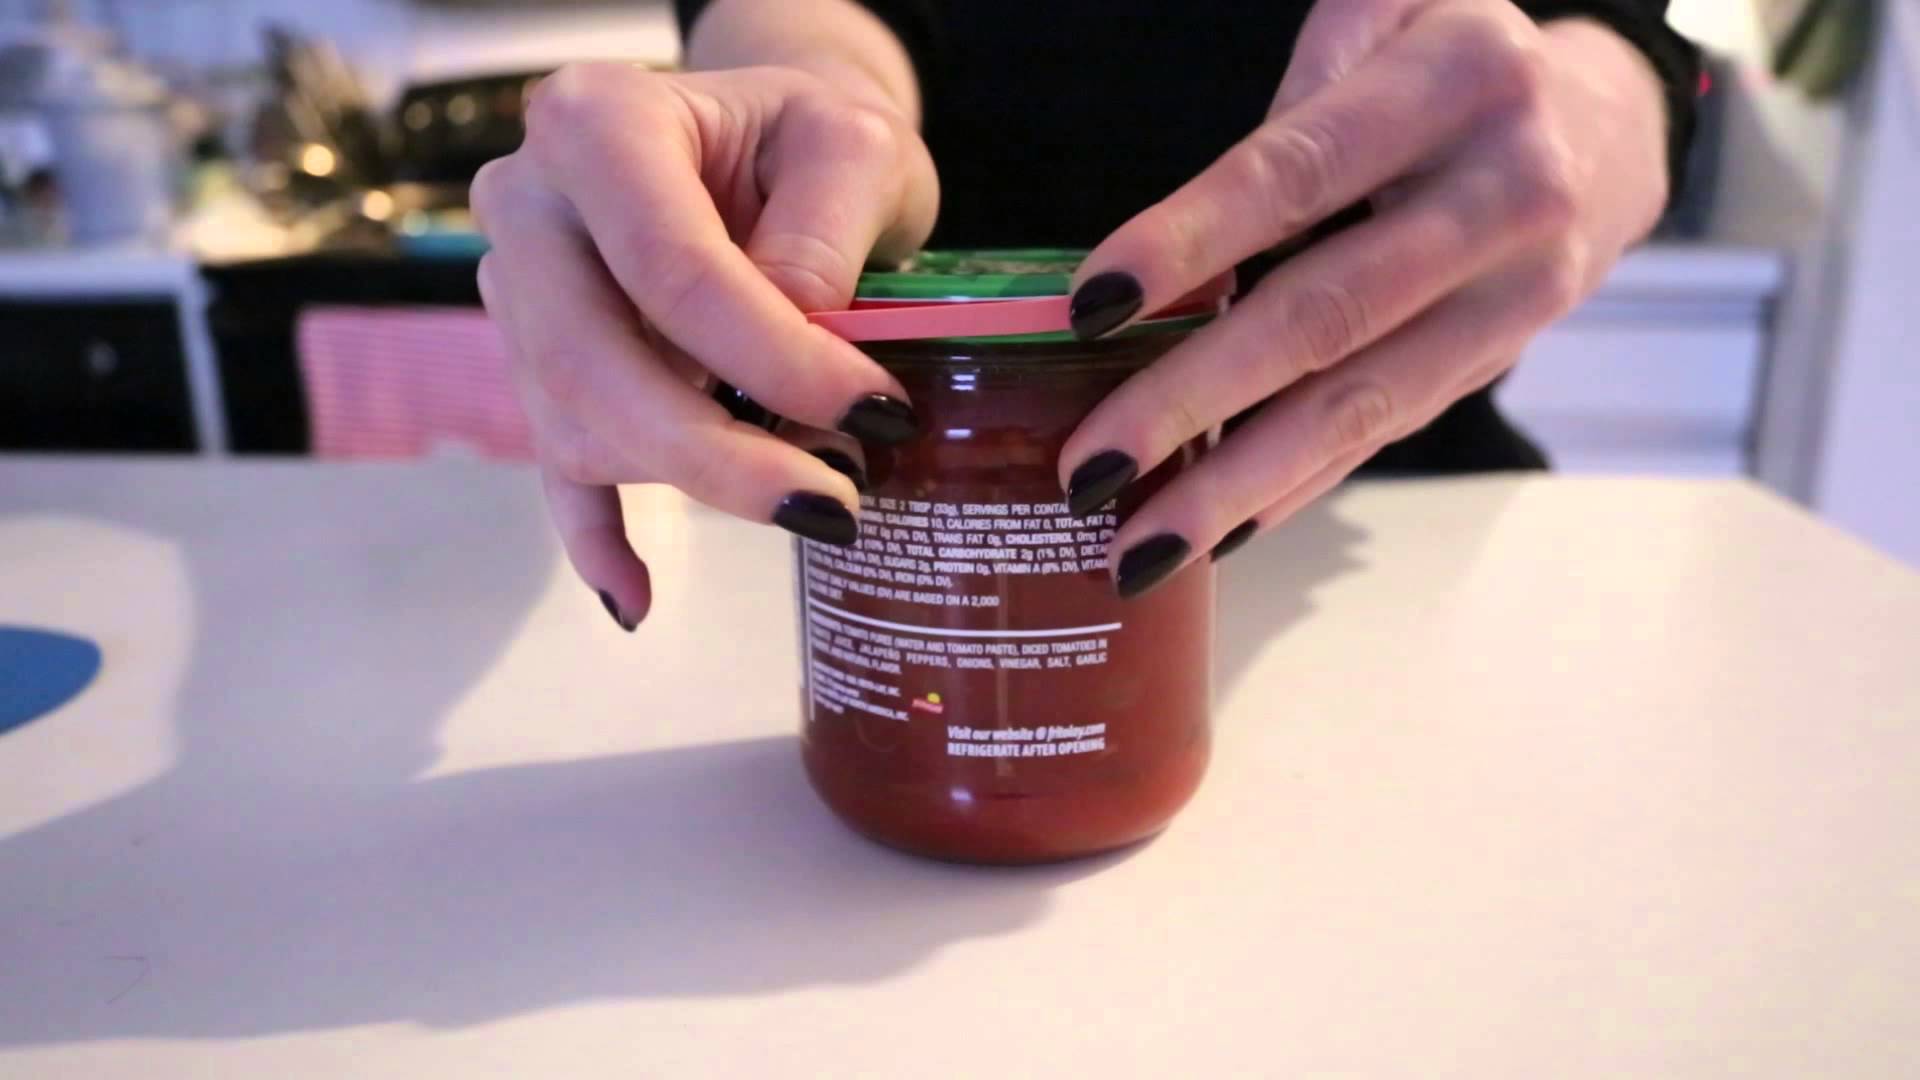
3) Open A Stubborn Jar
Having trouble opening that jar? Place a rubber band around the top of the lid. It will help you get a better grip on your jar.
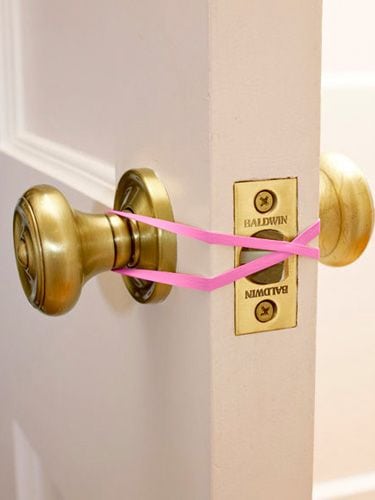
4) Prevent A Door From Closing
If you have kids, then it’s important to make sure that they aren’t able to close or lock doors in the house. Place a rubber band over one knob. Cross it over the door lock and place the other end over the knob.
5) Keep Your Tea Bag In Place
No one likes to have to fish out the tea tag of our tea bag from our cup of tea. Place a rubber band around the top of your cup and over your tea bag string. It won’t fall to the bottom of your cup.
6) Keep Apple Slices Together
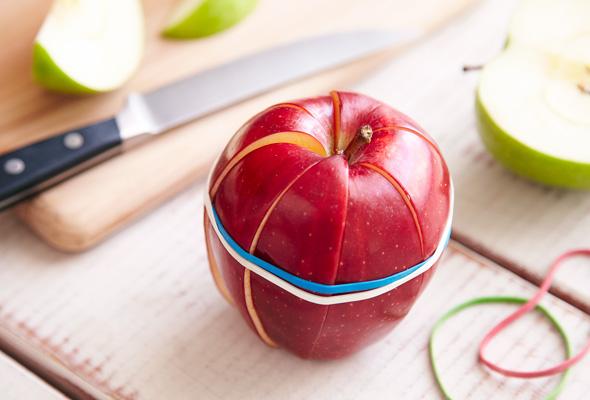
Slicing up apples makes them easy and convenient to eat when we want a snack. But keeping them in Tupperware can make them go brown. Keep them in place with a rubber band.
7) Keep Your Page
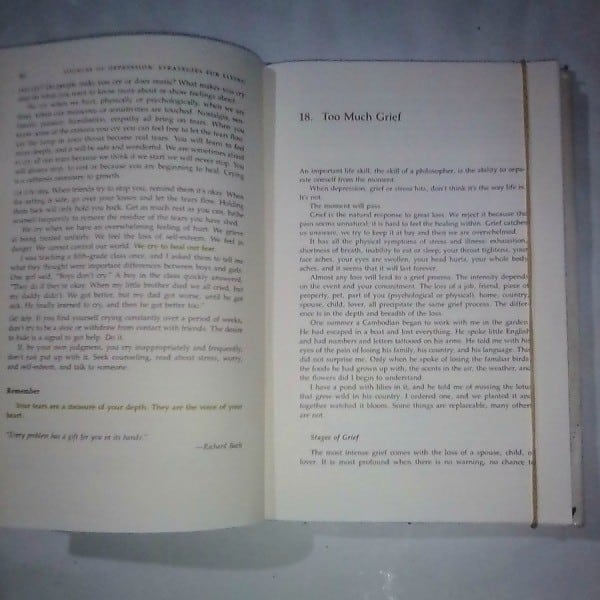
Keep a bookmark that doesn’t fall out? Place a rubber band around your book. It will keep your page even if you drop your book.
8) Easily Turn a Page
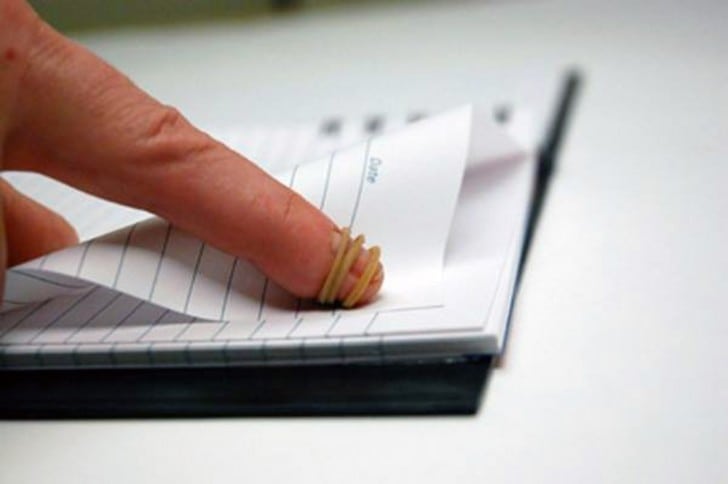
Stop licking your fingers to turn a page. It’s gross. Instead, wrap a rubber band on the end of your finger to easily turn the page.
9) Keep Your Utensils Dry
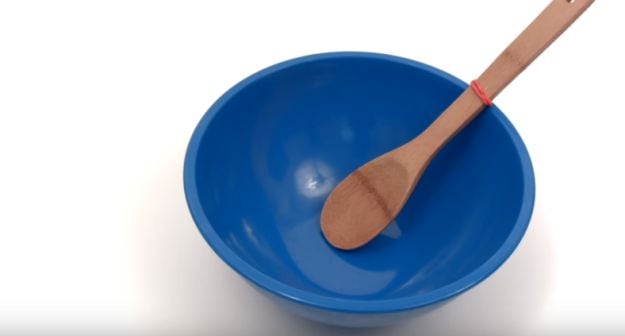
Having your mixing spoon slip into your bowl is a pain in the butt. Wrap a rubber band around the hand. The band will catch and won’t slip into the batter.
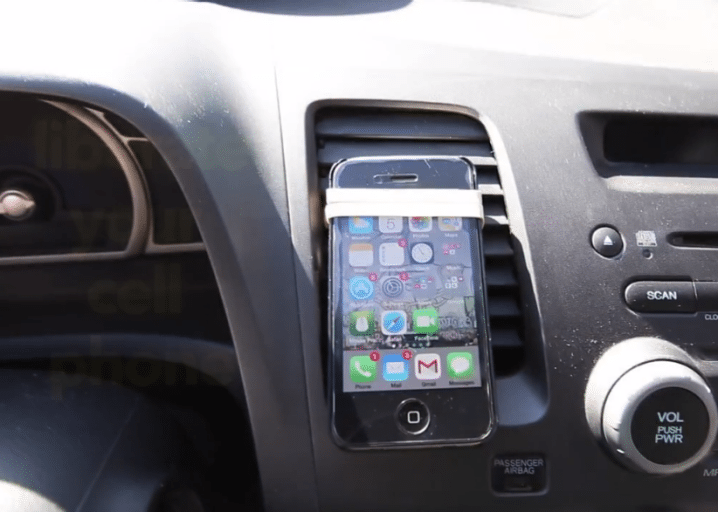
10) Car Phone Mount
Stop risk getting a ticket for using your phone in the car and don’t risk keeping your eyes off the road. Keep your phone in view so you can see the GPS with a rubber band. Tie it through your vent.
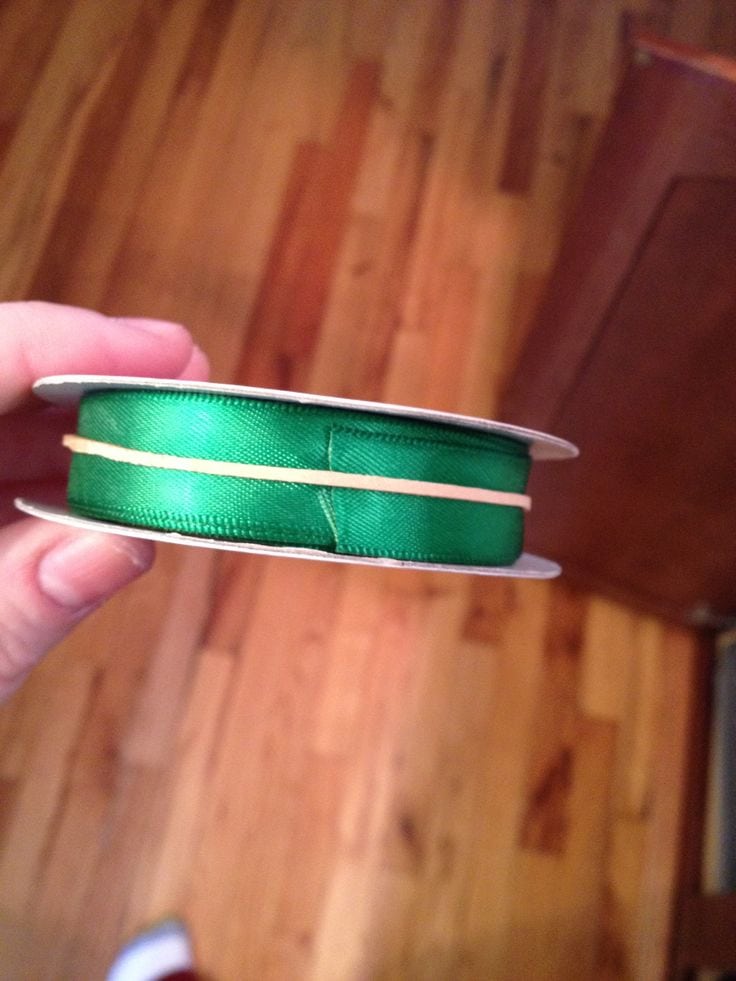
11) Keep Ribbon In Place
Ribbon can easily unravel. Wrap a rubber band in yoru spool. It will keep them in place.
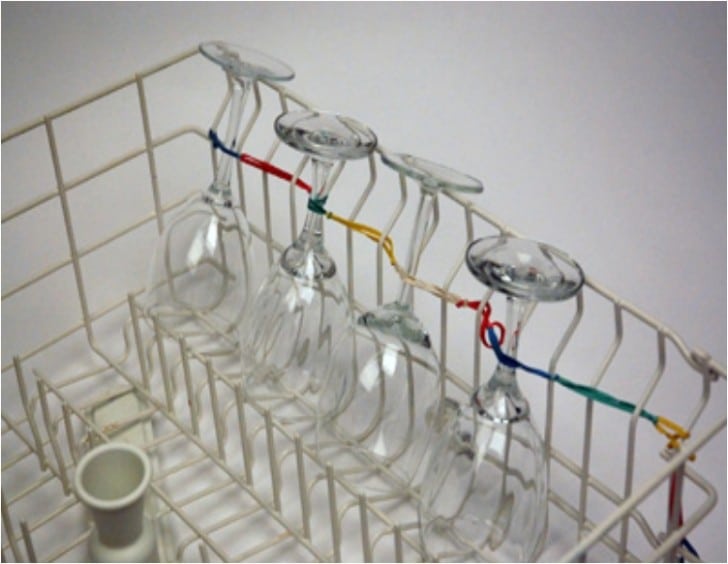
12) Keep Stemware From Slipping
Don’t let your delicate stemware clank around in your dishwasher. Use rubber bands to hold this in place. This will prevent them from chipping and breaking.
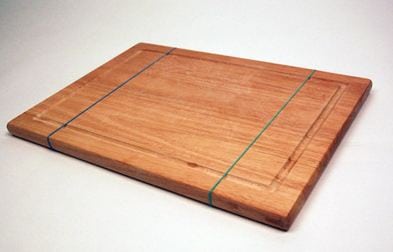
13) Keep A Chopping Board In Place
Sometimes chopping boards can slide around on your countertop. Place a rubber band on each end of your cutting board. The rubber will grip your counter and prevent the board from slipping around.
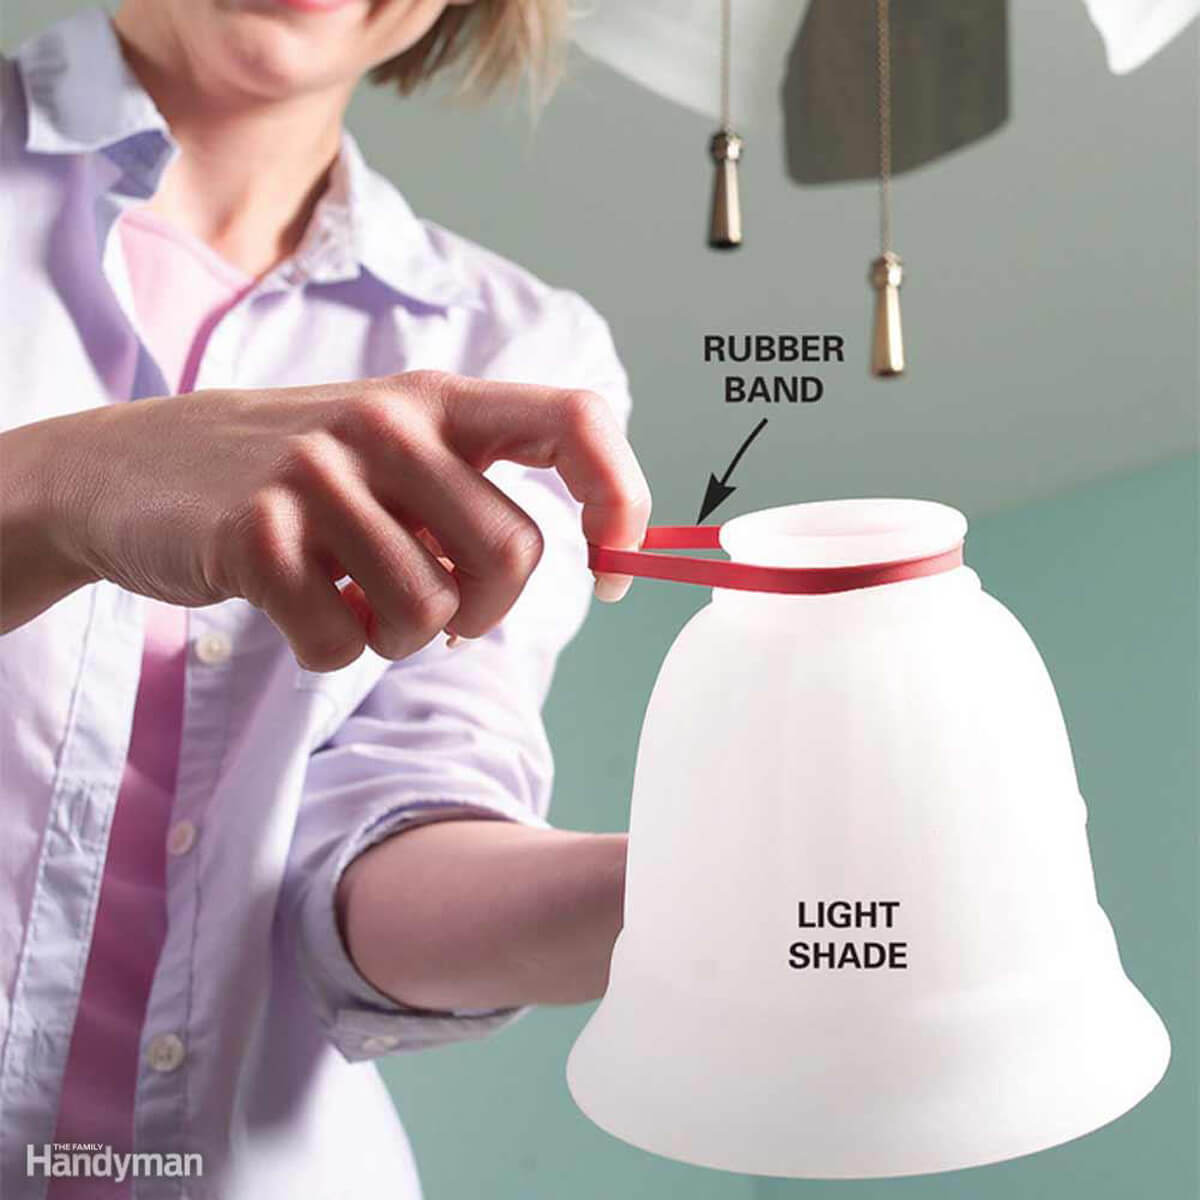
14) Prevent A Ceiling Fan From Rattling
Don’t let your ceiling fan rattle and make noise. Place a rubber band around where your globe screws in. This will prevent the screws from loosening.
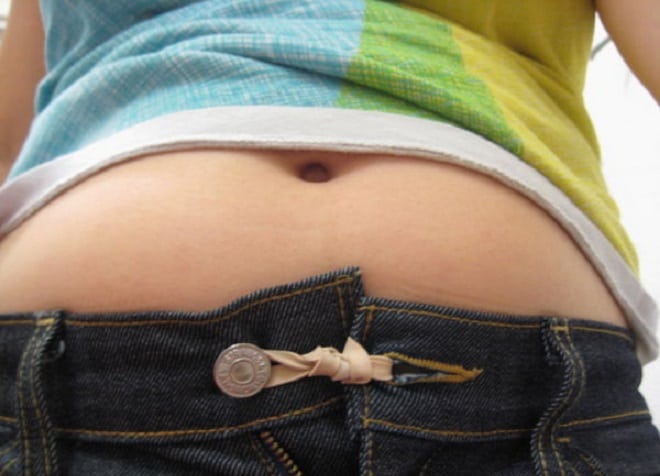
15) Extra Room In Your Jeans
Use a rubber band to give you extra room in the waist of your jeans. Just tie it to the buttonhole. Wrap the other end around your button.


